Intro
I recently made the jump from a Windows laptop to a Chromebook Pixel LS, a laptop that was ahead of its time. When the Pixel released, Chrome OS didn’t support Android apps through the Play Store, most chromebooks didn’t have touch screens, and the thought of paying upwards of $1300 for a machine that seemed like a glorified web browser with monster specs seemed absurd. Fortunately, things have changed since then! Chromebooks have become quite capable in the past few years - full Android app support coupled with the fact that most people don’t need more than a web browser to do their day-to-day computing has lead to Chrome OS being taken a little more seriously as a daily driver OS than before.
The Pixel does almost everything I need. I use Google Docs for all of my word processing, the Zoom Chrome app for my online courses, and I use the crosh shell for any dev work I need to do. I only missed using Microsoft’s Visual Studio Code as a text editor! I tried Crouton with Xiwi, which worked fine, but I noticed a substantial input delay that was especially noticeable when scrolling. I hear that VSCode works great on newer Chromebooks with Crostini, but the Pixel doesn’t support Crostini (yet) 😔
Enter: code-server
I stumbled across coder.com and thought that it could be a way for me to use VSCode without Crostini. It works, but the free tier is limited in its power and storage. I wanted to take advantage of the Pixel’s surprisingly good specs, so I took a look at their GitHub repository to see if there was any way that I could host it myself. Good news - I can! They included a binary in the repository that starts up a Coder server that you can access from localhost in a web browser.
Try 1: VPS
I have a VPS set up on DigitalOcean that I use to run some web apps. My first idea was to set up the Coder server on my VPS and access the editor from Chrome. I ran the binary on the VPS, and immediately received an “out of memory” exception. Being the cheapskate that I am, I pay for the $5 a month VPS. Unfortunately, the Coder server won’t run on such a small amount of memory. Plus, Coder’s website gives you this option of running VSCode in the cloud anyway, so I decided to forget using self-hosting Coder for now.
Try 2: Localhost
Next, I tried just running code-server locally. After a little bit of fiddling, it works! I set up the server to run on one of my open ports and I’m able to access it easily through my browser. There’s a few glitches here and there; for example, I can’t view markdown previews in the app, and there’s a few extensions that don’t show up in the extensions search that do on normal installs of VSCode. All in all, though, it’s a great way for me to use my favorite text editor while I wait for some sort of official linux support for my device.
Tutorial
Some assumptions I’m making if you’re following this tutorial:
- You’re in dev mode (not necessarily dev channel) and can access the “shell” within crosh
- You know how to navigate the command line interface
- You have all of the necessary packages installed (tar, python, etc.)
- You are able to execute compiled programs on your file system (if you get an error when trying, take a look at this Stack Exchange page)
Let’s get started:
-
Downloading code-server
Go to the releases section of code-server’s GitHub page and download the tarball for the latest release. Unpack the tarball.
-
Running the server
Simply run the command
./code-serverand you’ll have the server up and running on its default port. -
Accessing the user interface
You can navigate to localhost:[port] in your browser to check it out. See below what I get:
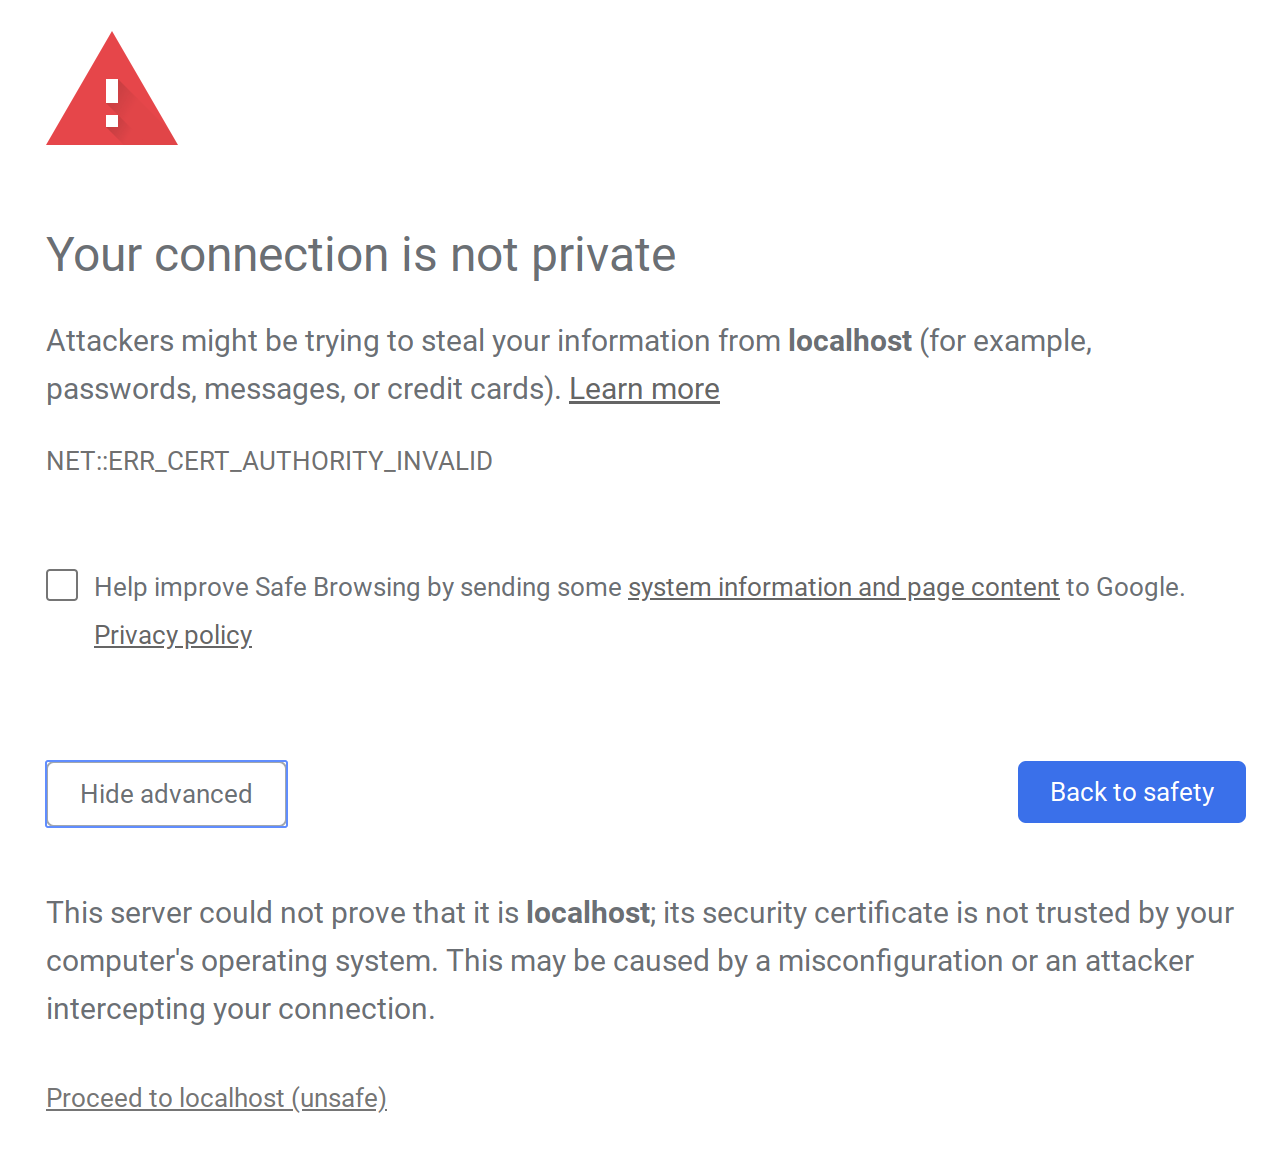
That’s just a security warning due to the server’s default use of https. Once you click “Proceed to localhost”, you’ll see this screen:
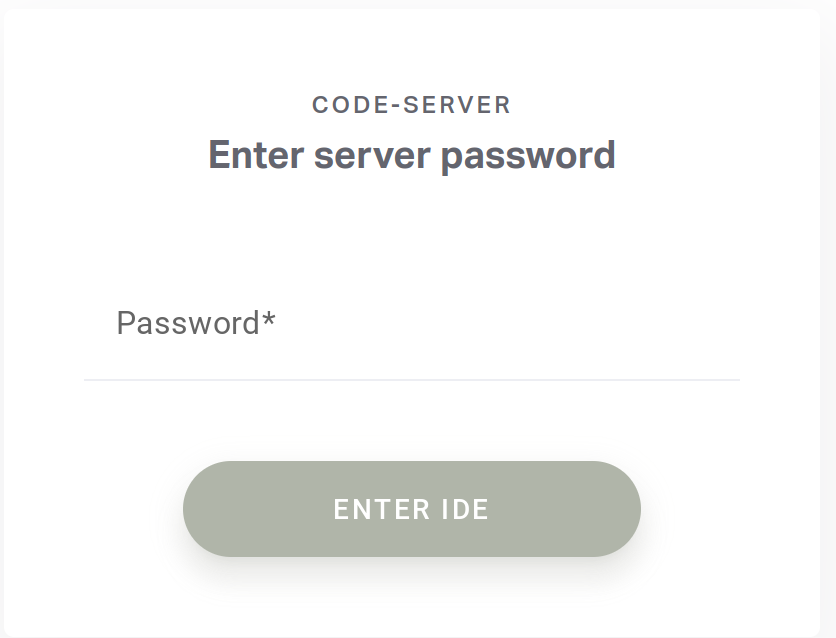
You can find the password that code-server wants you to use in the stdout of the server you just ran. Put that in the password field and you’re good to go.
-
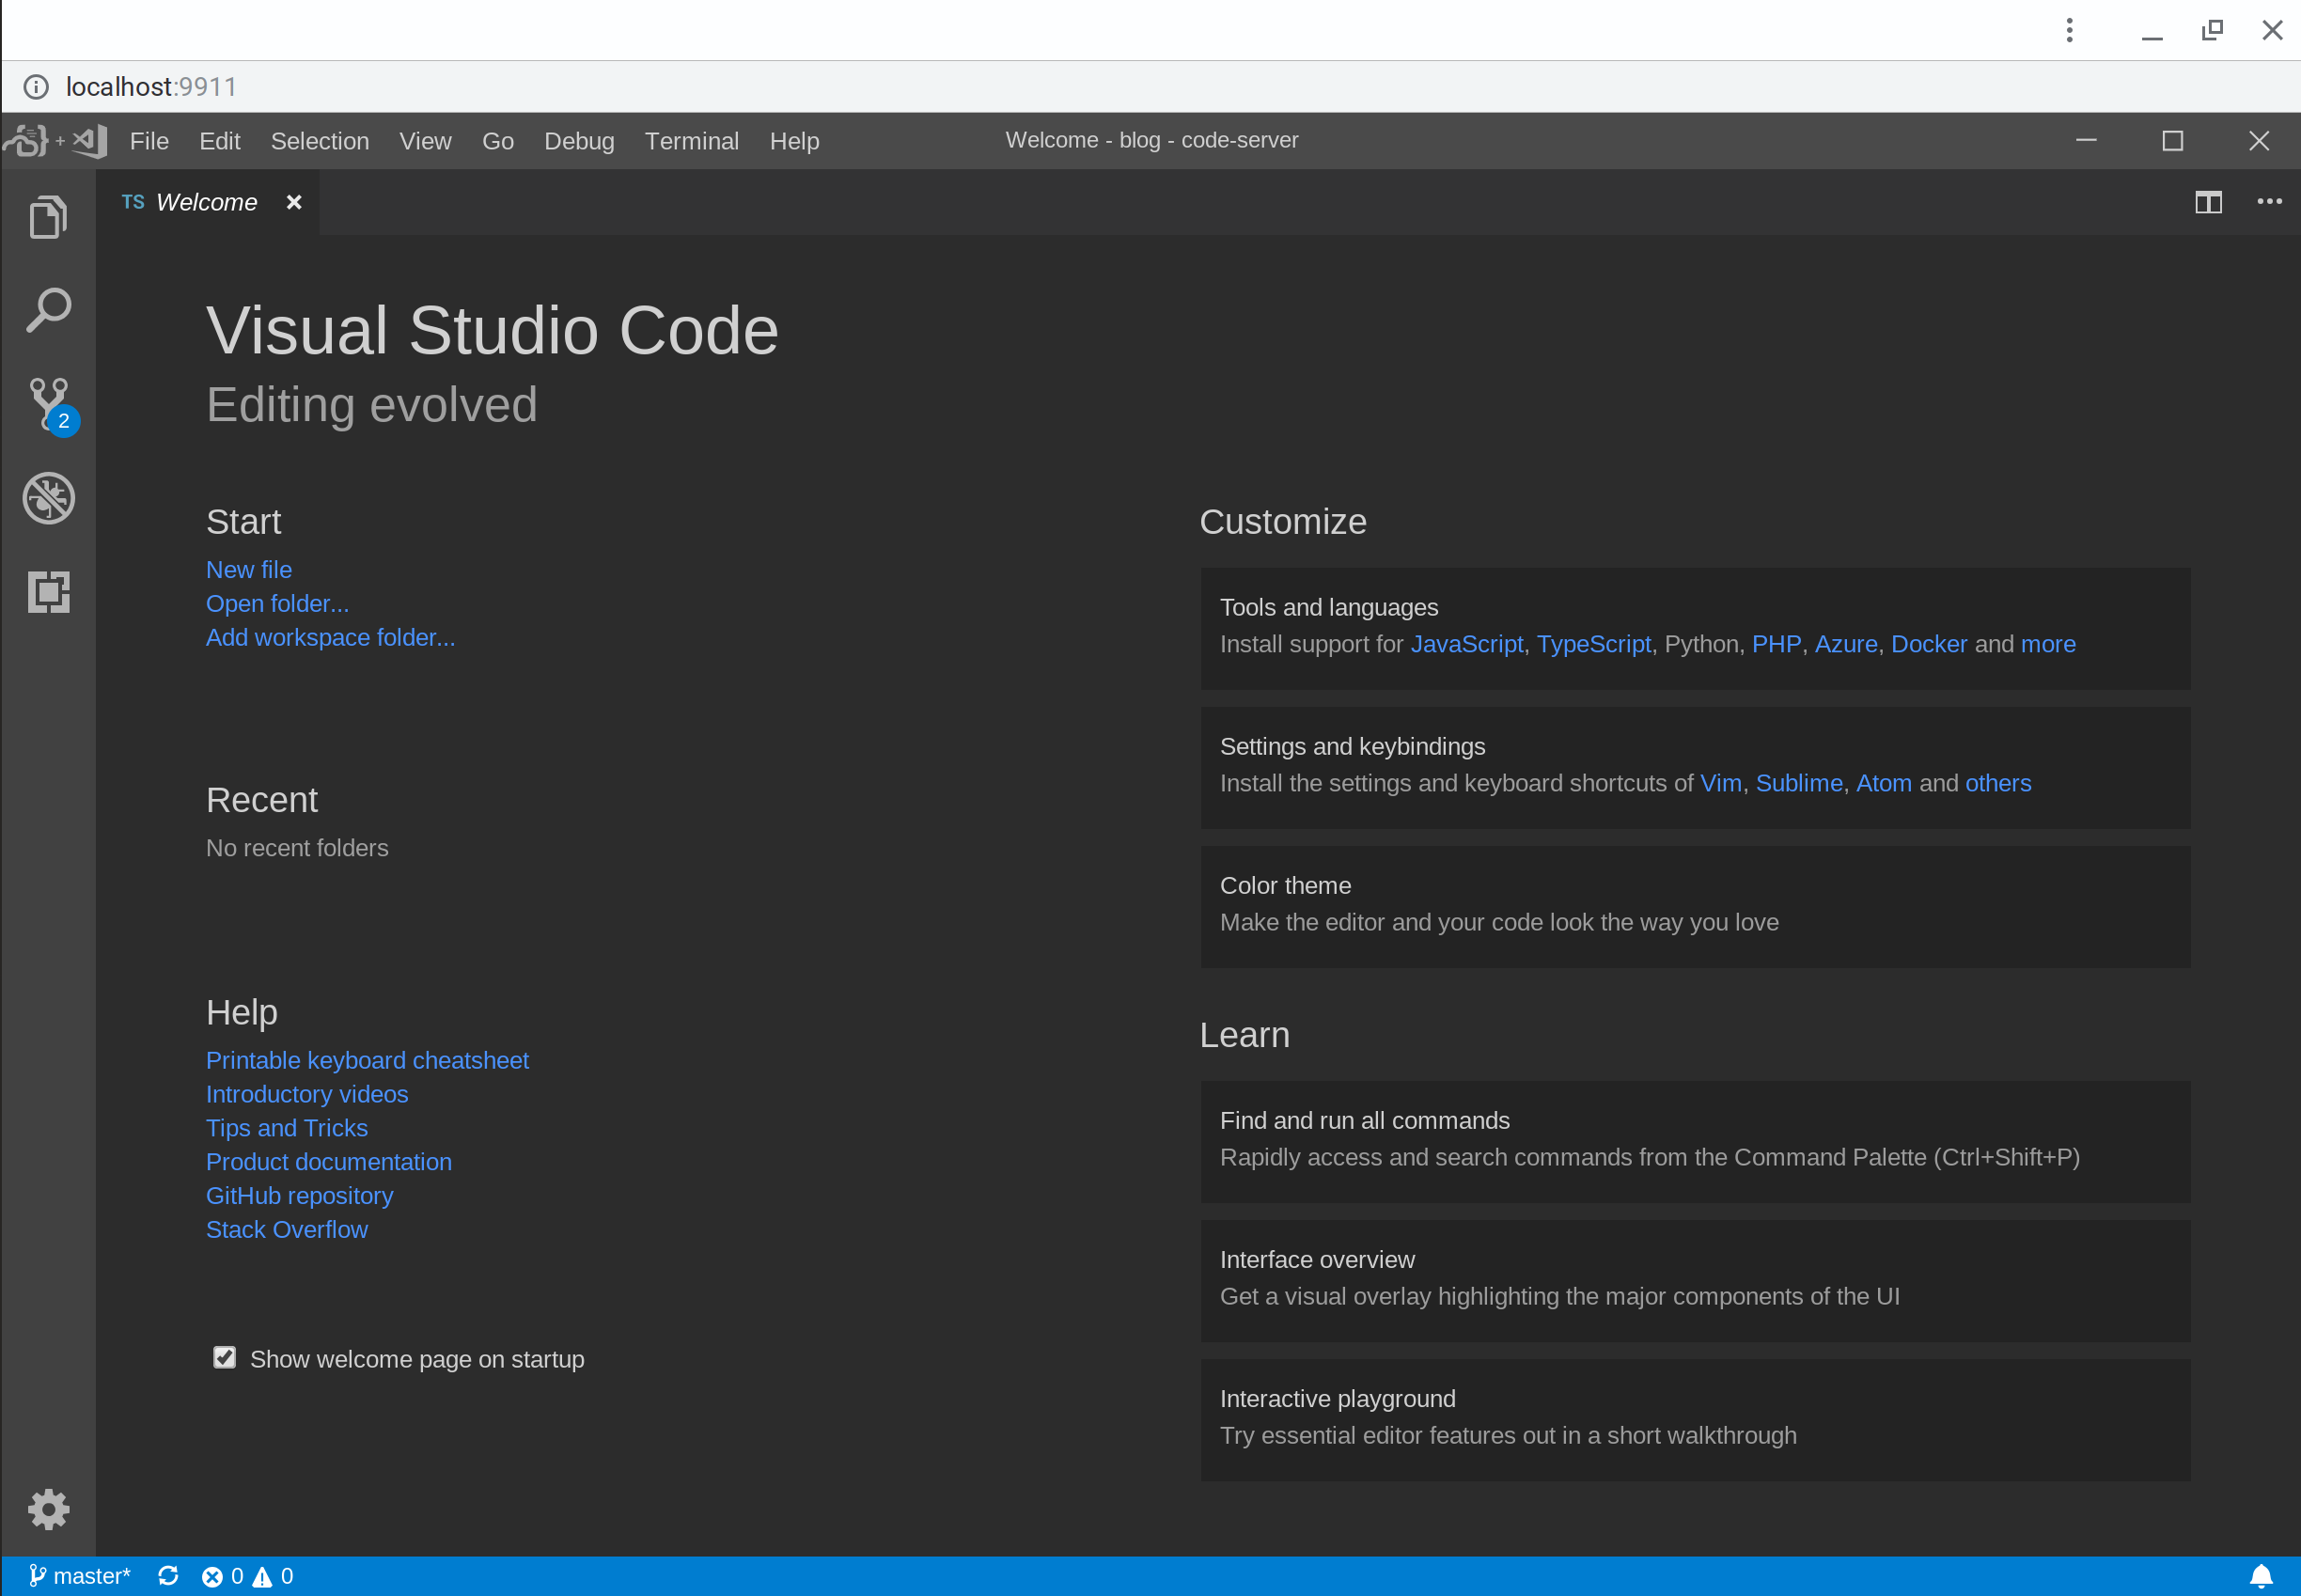
Ta-Da! Better VSCode on your Chromebook.
You will now see the familiar VSCode interface! You can use VSCode like normal, minus some small bugs like I mentioned earlier.
-
Removing password authentication and HTTPS
To remove password authentication, all you need to do is add the
--no-authflag when you run the server. Now you won’t see any security warnings or password prompts, and you’ll be able to go straight into VSCode when you access the localhost port. -
Starting code-server automatically when you enter crosh shell
I use the shell more often than most ChromeOS users, so maybe this won’t be as big of a deal for others. I didn’t want to start up the server manually each time I booted up my laptop, so I added the following lines to my
.bashrcto start the server for me in the background whenever I open the shell:if ! pgrep -x "code-server" > /dev/null then nohup /path/to/server/code-server --no-auth -p 9911 >/dev/null 2>&1 & fiNote that this little snippet checks to see if the server is already running before starting it. It also sets the port to something custom, gets rid of any output so that I don’t see it in the shell, and lets me close the shell without worrying about the server stopping.
-
Changing the icon
The icon that shows up by default when you access code-server in the browser is blank. Let’s change that to something that looks nice. Google Images search “VSCode icon” and pick something that you like. Copy that image’s address. Now, access the Chrome developer tools by pressing
Ctrl-Shift-I, and in the “Element” tab click on the “head” line.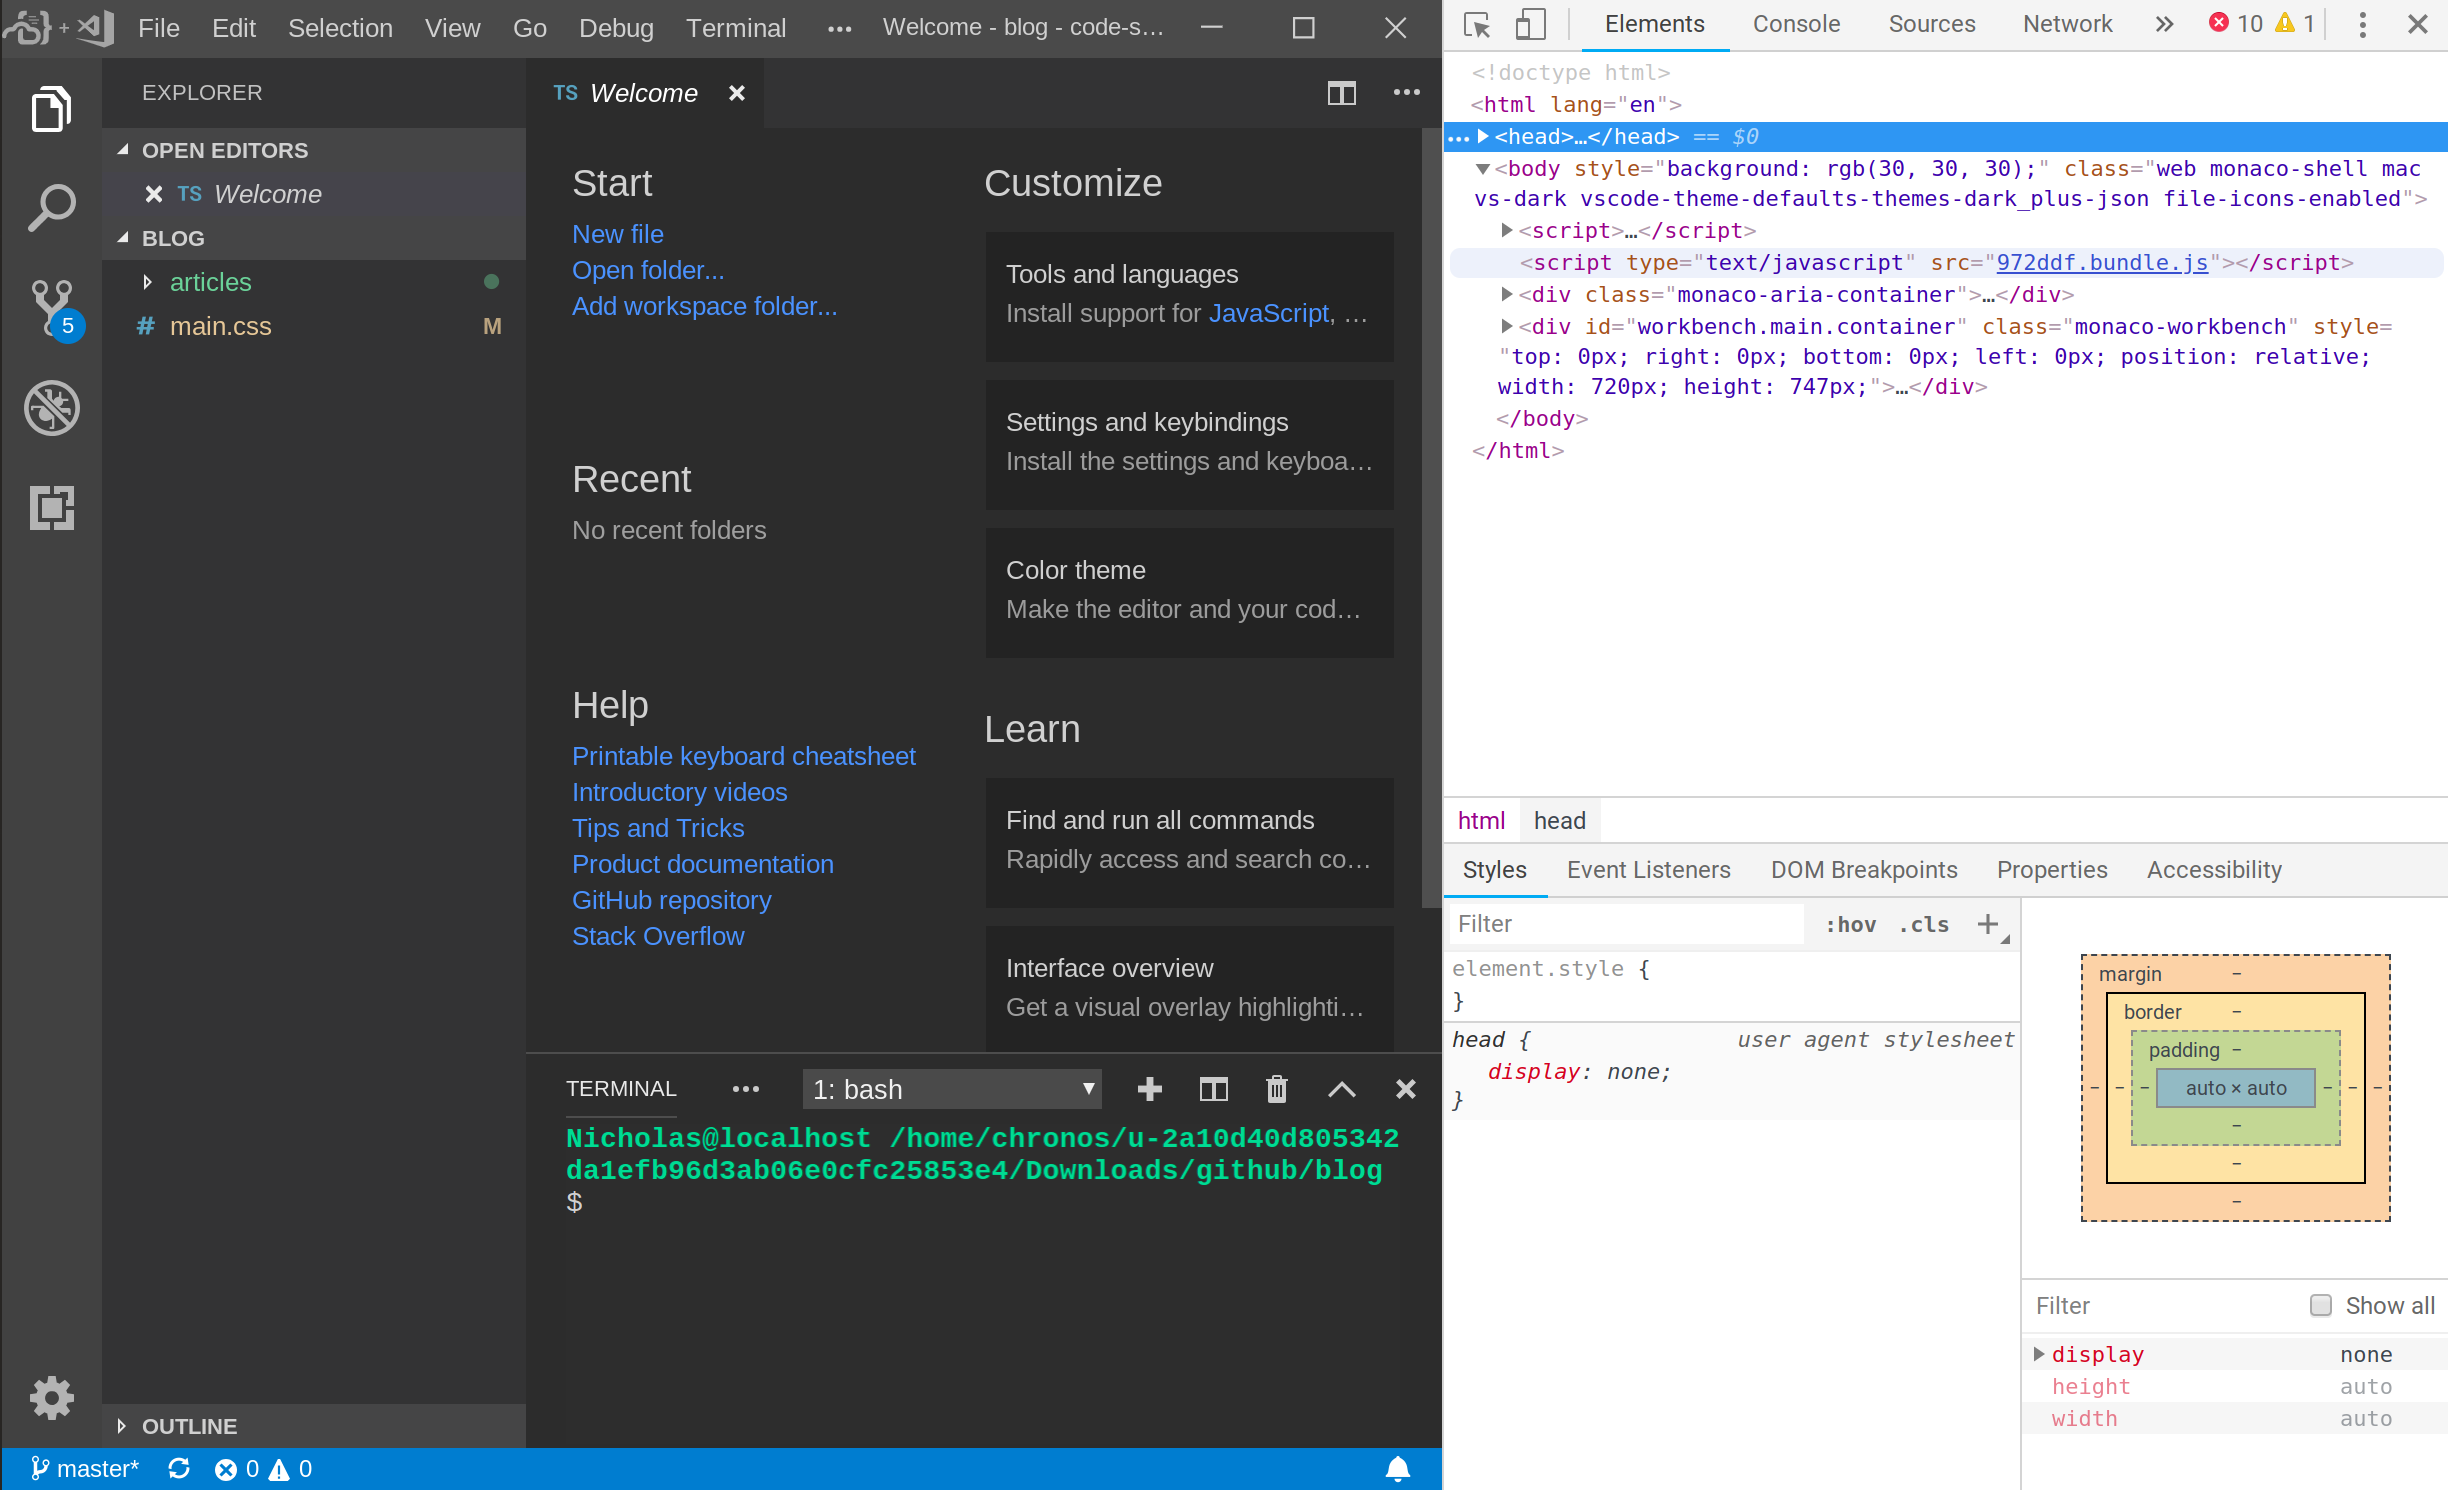
Right click on the “head” line and choose “Edit as HTML”. Add the following line to the “head”:
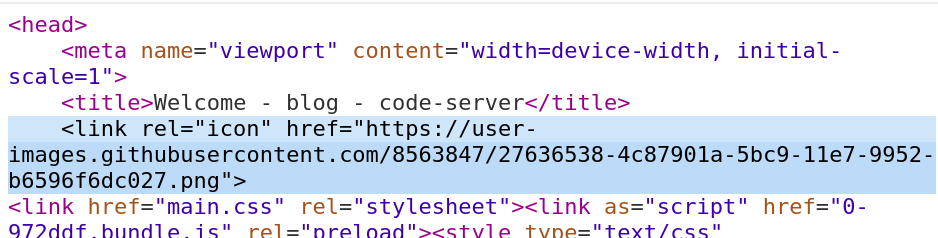
where the link after href= is the link to your image. Now, the icon of the site has changed from the blank icon to your new, custom icon.
-
Adding VSCode to your dock
The last thing you’ll want to do is add VSCode to your dock. You can do this pretty easily, just click on the three dots in the top right corner of chrome, then hover over “More Tools”, then click “Create Shortcut”. Name the shortcut, and then it will appear in your dock. You can also search for it with all of your other apps:
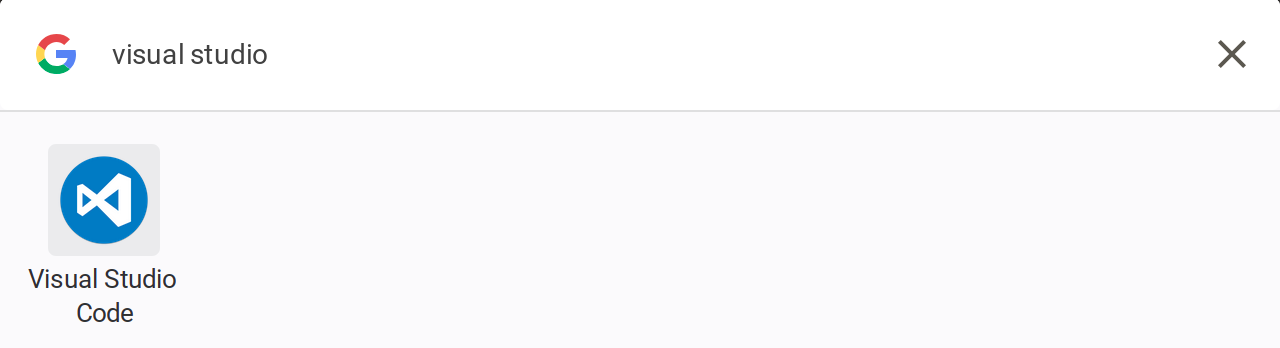
You now have VSCode on your Chromebook! Note that you can also use Applicationize.me for this, too.
Thanks for reading!
If you’ve made it this far, I want to thank you for reading through this little article. Thanks to Coder.com for making this nifty little server. If you have any questions, feel free to contact me via my website or via my email that I have posted on GitHub.